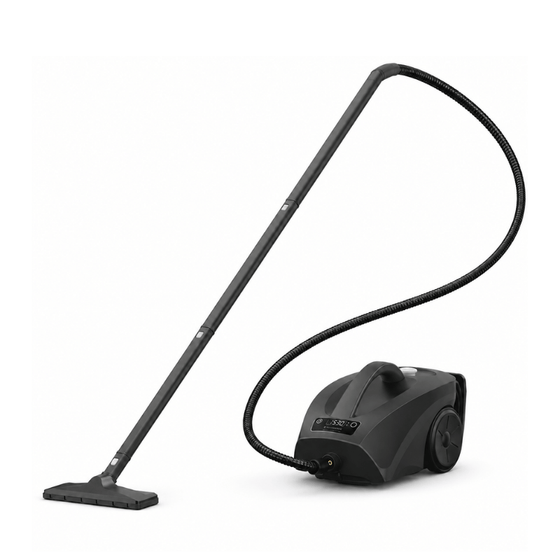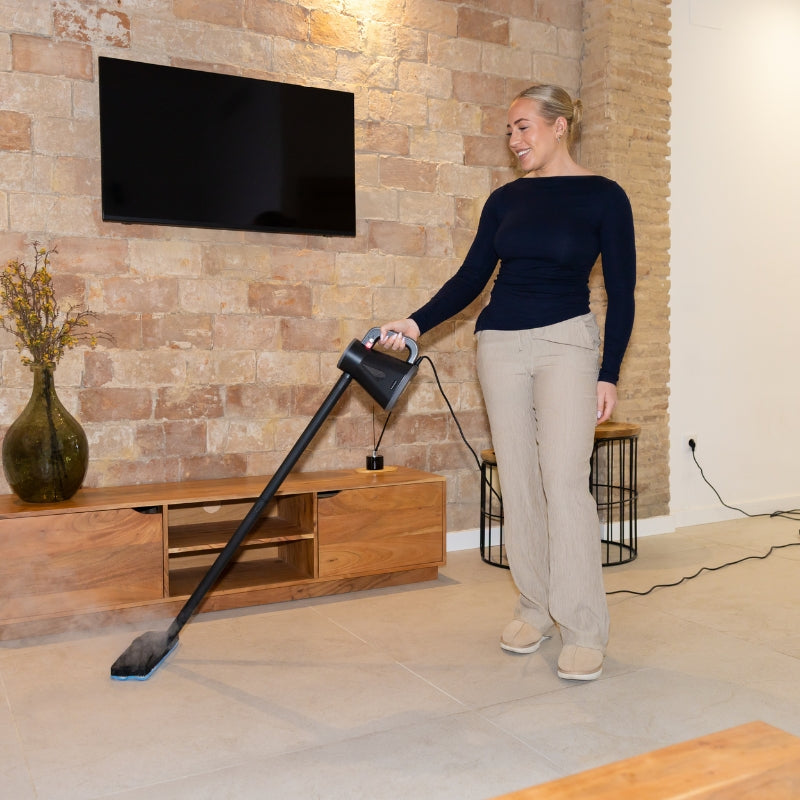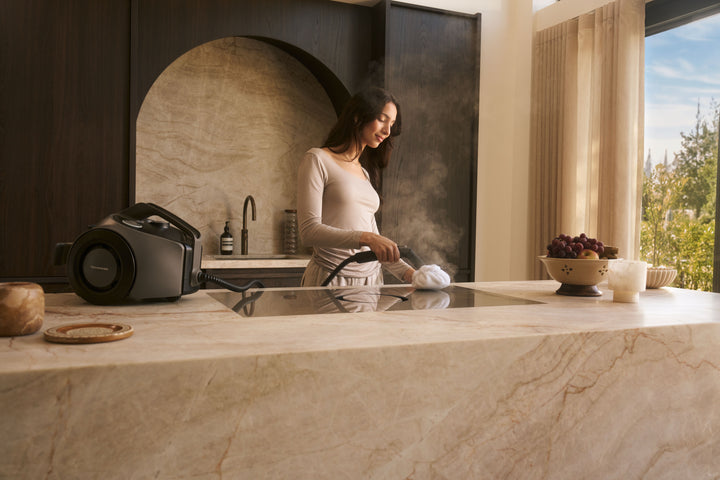

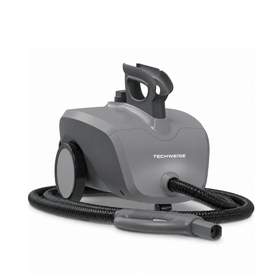
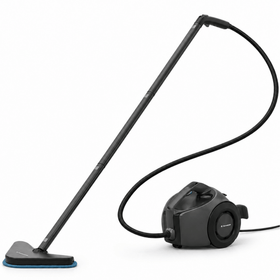
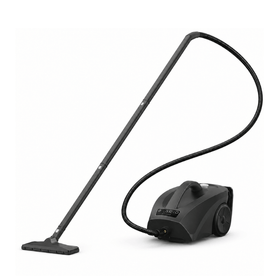
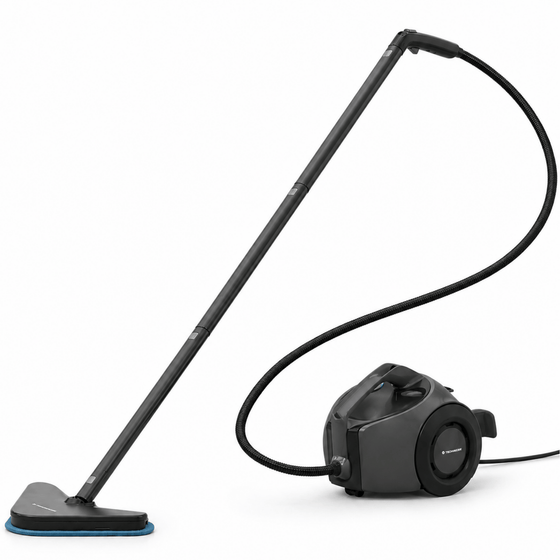

Most popular for the weekly deep clean
€ 269,95€ 179,95

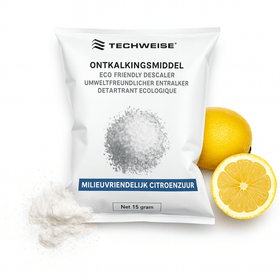 Furniture/upholstery accessory for steam cleanersPerfect for disinfecting
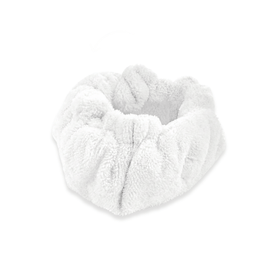 Additional set of 8 brushes TS1 and TS2 Steam CleanerSuitable for all hard surfaces
 2 mop cloths for TS1<tamp>and TS2 steam cleaners</tamp>Suitable for all types of floors
Shop accessories by model
Your shopping cart is empty
Popular searches
Frequently searched for
Most popular for the weekly deep clean
For big households and heavy-duty jobs
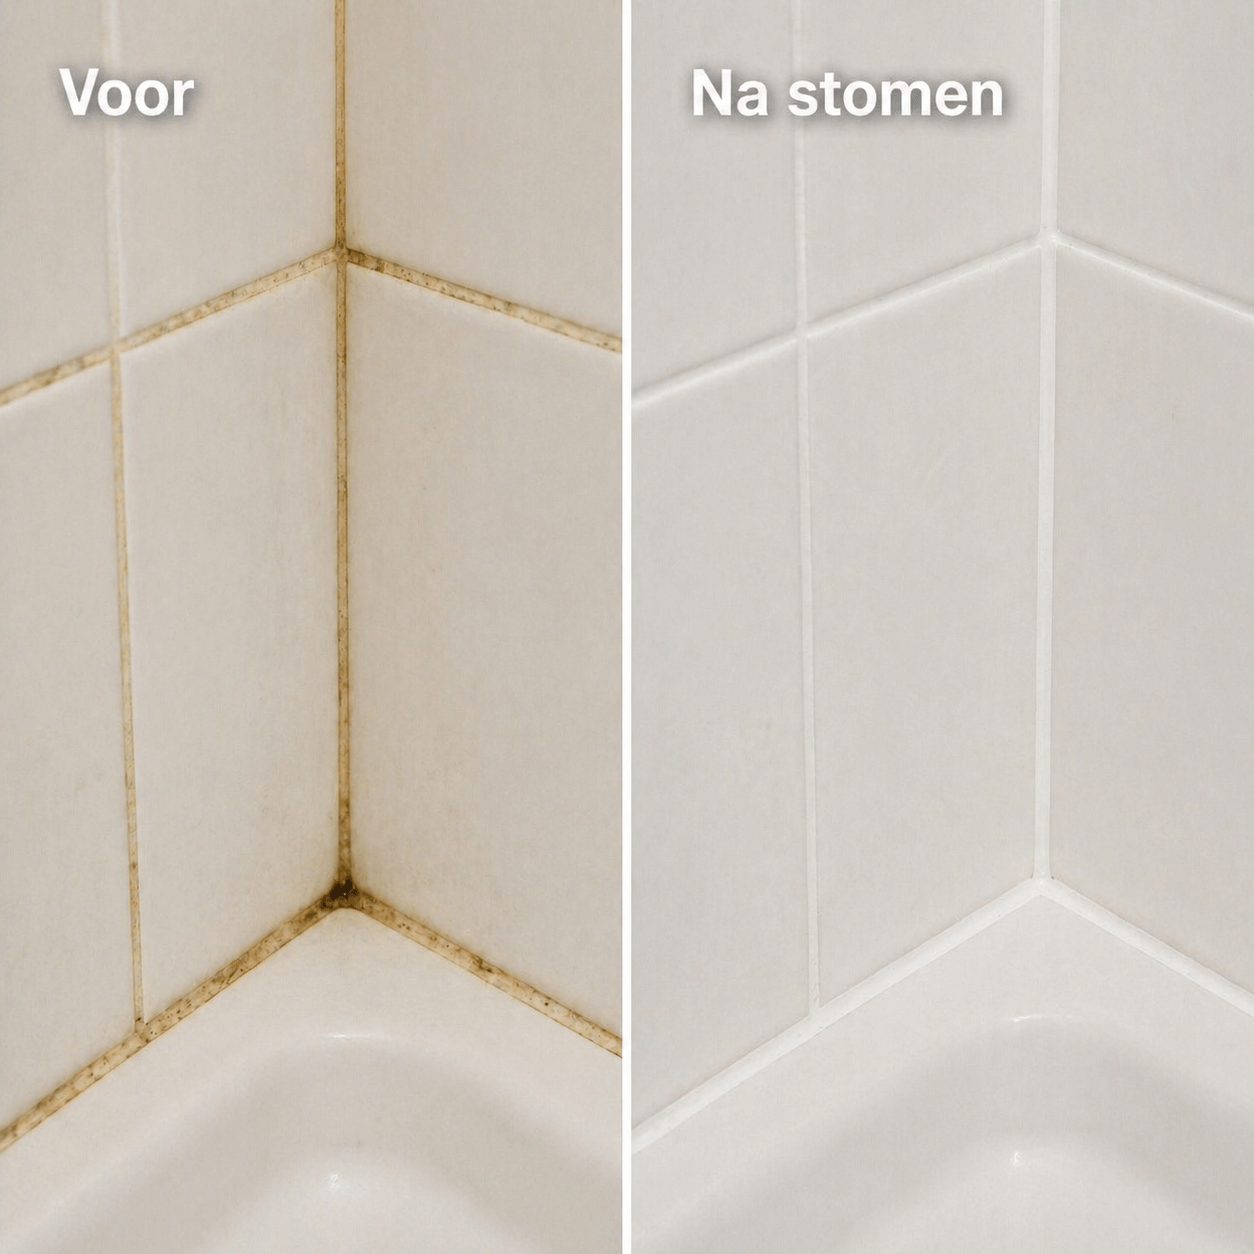
Do you clean the tiles, but the grout remains gray? Then the dirt is not on the grout but inside it. With most grout, you simply cannot reach it with a cloth or spray.
Cleaning your grout with a steam cleaner is therefore the solution. The heat softens the dirt, the pressure pushes it out, and a small brush lifts it away. Why this works, and why not every type of grout reacts the same way, depends on the material. That is where we begin.
Always consult the care instructions from your tile or flooring manufacturer. Test in an inconspicuous area, use the lowest effective setting, and keep moving. The table below provides guidelines:
| Type of grout | Steam-clean? | Why |
|---|---|---|
| Cement grout, intact and undamaged | Yes | Porous, so steam reaches the dirt inside. This is the standard grout between individual tiles |
| Epoxy grout | Yes, provided you keep moving | Dense and non-porous, so little dirt gets into it. However, epoxy resin can soften under prolonged heat, so do not stay in one spot |
| Grout in ceramic or porcelain mosaics | Yes, but allow more time | A lot of grout per square metre. Work in smaller sections |
| Grout between natural stone, quarry tiles, or cement tiles | Only if your supplier allows it | Steam itself does not etch the stone, but the tile’s finish and protective layer determine what is permitted. When steaming, you will always touch the tile edge |
| Crumbly or damaged cement grout | No | If sand comes off when you rub it, or if a piece is missing, moisture is getting behind the tile. Repair the grout first |
| Sealant edges and silicone joints | No | The high steam pressure removes the sealant. These are the flexible edges in corners, along the bathtub, and between the sink and the wall |
| Joints in laminate- or PVC tile-look flooring | No | These are not grout lines but joints. Moisture seeps in, and the floor may expand |

A steam cleaner can do a lot, but not everything. In these four situations, it is of limited use.
Stubborn limescale. This is the main limitation. Limescale is calcium carbonate, and heat and water alone will not dissolve it. Steam does loosen the grease and soap residue around the limescale, which often removes a great deal of it already. But a thick, dried-on layer of limescale remains and requires a product designed for that purpose. Check carefully whether that product is suitable for your tiles and grout.
A caulked edge. Steam loosens caulk, so it is better to clean caulked edges with a soft cloth. If there is mold in the caulk, cleaning will not help either: the mold has grown into the material, and replacing the caulk is the only solution.
Permanently discolored grout. If grout has been affected by mold or an acidic product, the color of the material itself has changed. Steam is no longer the solution. Possible solutions include grout paint or having the grout replaced.
1. Check your grout. Is it intact, and is steam suitable for this material? See the table above. Keep away from caulked edges.
2. Fill the tank and let it heat up. Use clean water, or demineralized water if you live in an area with hard water. How long heating takes depends on your model: the TS Compact is ready after about 10 seconds, and the TS3 Edge after about a minute. For the TS1 and TS2, allow two to eight minutes.
3. Steam the condensation away from yourself. Do this in the sink until only steam comes out. If you skip this step, you will spray water onto your grout instead of steam. The dirt will get wet but will not come loose.
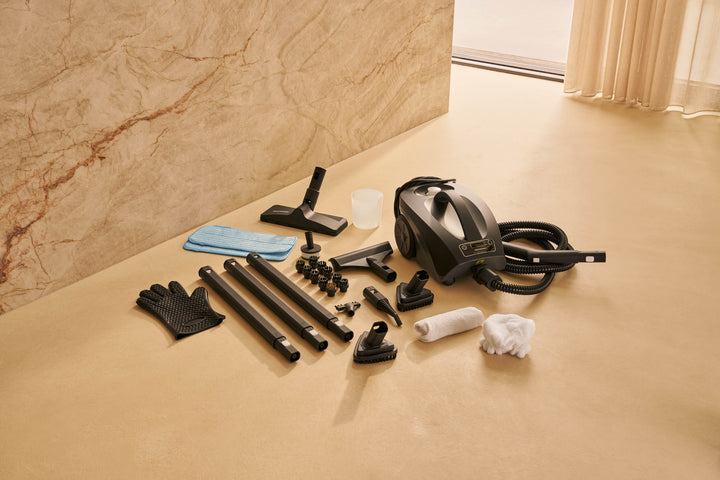
4. Attach a small nylon brush to the precision nozzle. Without a brush, you are only blowing. Our models come with a brush set, so you can get started right away. Always start with nylon: brass and steel are intended for heavy-duty work on robust surfaces such as the barbecue.
5. Work in sections of half a meter. Clean one section of grout, wipe it, and move on. On wall tiles, work from top to bottom so loosened dirt does not run over areas you have already cleaned.
6. Keep moving and do not stay in one place. Gently scrub back and forth a few times over each section, and do not apply more pressure than necessary. This is important for two reasons. With cement grout, steaming in the same spot for too long drives hot water deeper into the porous grout, and if the area does not dry properly afterward, that can encourage mold growth. With epoxy grout, the resin can soften under prolonged heat. Short, even passes therefore work better than long, intensive ones.
7. Wipe up the loosened dirt immediately. This is the step most often skipped. A steam cleaner does not vacuum anything up. The dirt is left loose on top, and if you leave it there, it will sink back into the grout as soon as it dries. Wipe over it immediately with a microfiber cloth, folding or rinsing it regularly.
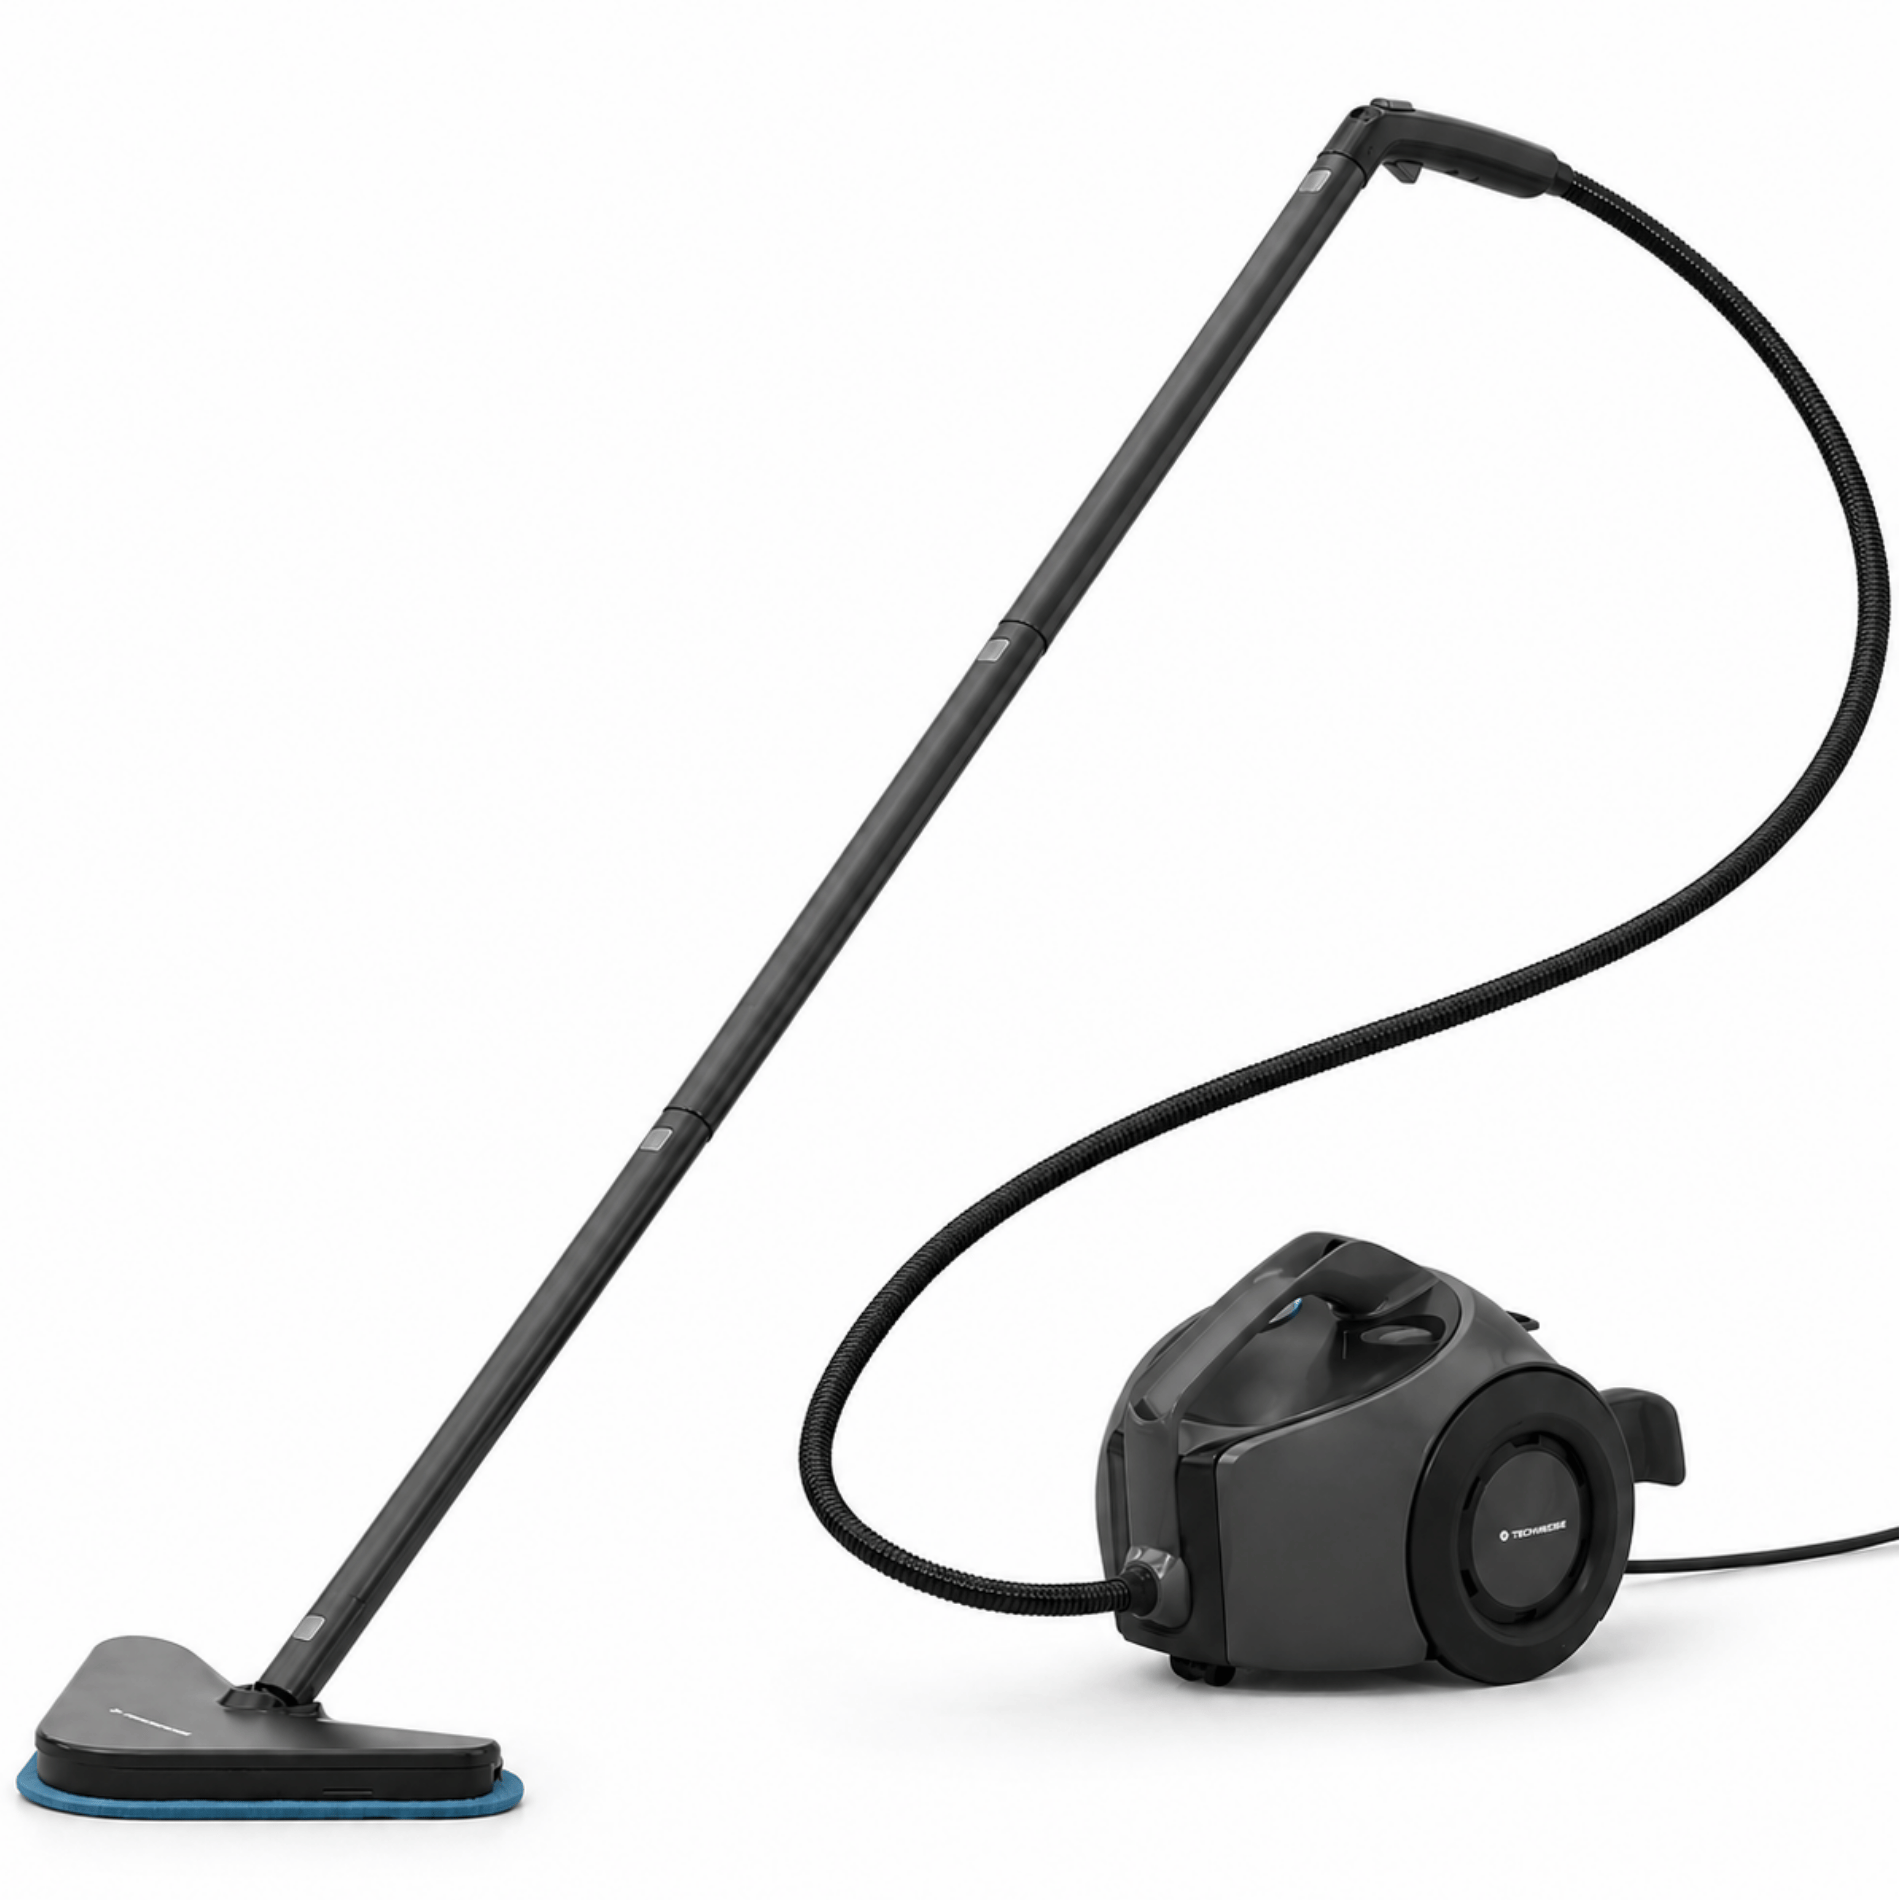
8. Mop the floor afterward and let the room dry. After cleaning the grout, loosened dirt will be left on your tiles. Finish with the floor nozzle and a clean cloth. Then open the window or turn on the ventilation so the moisture absorbed into the grout can evaporate as well.
For an average bathroom floor plus the wall around the shower, allow 45 minutes to an hour if you are tackling the grout thoroughly for the first time. After that, it goes much faster.
Wet grout always looks darker than it really is. Wait half an hour before drawing conclusions or doing another pass. Many people steam over grout a second time even though it was already clean. If you want to create a before-and-after comparison, photograph both times when the grout is dry and in the same light.

For grout, the wet steam setting is the most useful, and it is available on two of our four models.
Not sure? Use Help me choose.
Cleaning can be so much better. Our powerful products, which you can rely on for years, prove it.